Import Dialog
From the backstage, clicking on Import displays the Import dialog. From there, import terrain, rasters and other sources of data to bring context to your design.
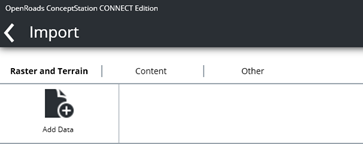
Add Data

The Add Data brings a dialog to browse and select the files to be imported.
Add Data also brings a dialog to browse in ProjectWise for the files to import.

To start the import process, click Import. To cancel the entire process, click cancel.
Mapping
For some file formats, such as terrain, raster and osm files, the default mapping is used.
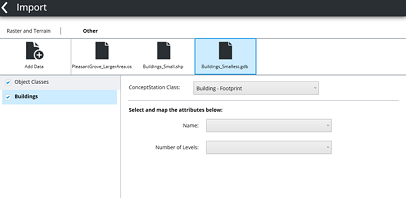
In other cases, a manual mapping is required to create the relationship between the features to be imported and the OpenRail ConceptStation class. In the following example, the selected Buildings_Small.shp file is selected and its Building class has been mapped to the Building - Footprint ConceptStation class. Once imported, those objects are recognized and symbolized based on the OpenRail ConceptStation Building class definition.
DGN Textures
When importing a DGN file, use the option to specify the texture workspace so they are considered during the import process. This is not mandatory. When checking the "Use workspace settings to find textures" check box the user has to select the product and the workspace to be used from the drop down list.

Terrain file location - Defines the location and the name of the terrain file (3sm) to be created. This file can be reused to create different alternatives by attaching it to other dgndb files. Refer to the Attach section for more details.
Import
The Import tool launches the import process.
Status
The Status column provides information about the import process status: Queued, Importing, Import Succeed, and Import failed. When a failure occurs, clicking on the Import failed link will provide details about the failure reason.
Done
The Done tool closes the Import dialog.